What Is Page Speed?
Page speed is the number of seconds it takes for a page to load before it becomes fully available to users. It’s a critical factor for both user experience and SEO.
Google evaluates page speed using three key metrics (Core Web Vitals). The one directly related to website loading speed is Largest Contentful Paint (LCP) which measures how fast a page loads.
For optimal performance, a good loading speed is under 2.5 seconds. Anything above 4 seconds risks losing visitors and search visibility.
The other two metrics, Interaction to Next Paint (INP) and Cumulative Layout Shift (CLS), assess how responsive your site is when users interact with it and how stable the layout is while loading to prevent unexpected shifts.
Page speed directly impacts SEO rankings, as Google prioritizes fast-loading sites. It also affects conversion rates as slow pages frustrate visitors, leading to higher bounce rates and lower sales. Studies show that a one-second delay can drop conversions by 7% or more.
How To Increase Page Speed
Making your website load faster is not as difficult as it sounds. As you'll see below, there are easy tweaks you can make and software you can use to dramatically improve the time it takes for a webpage to load.
To improve your page speed, follow the best practices below.

1. Compress and Optimize Your Images
A webpage is usually slow because of the number and size of images. Providing good-quality images and other visual elements is important for SEO and usability, so removing them completely is not an option.
Instead, you should minimize their file size without sacrificing quality.
Follow the recommendations below:
Use the Right Image Size
Before uploading an image to your website, resize it to the maximum width you need.
For example, if the maximum width you show images on your blog is 1200px, it’s a waste to upload bigger images.
You can use tools like Photoshop, Gimp or Pixelmator to open an image, change its dimensions and export to a web-friendly format like jpg or png.
Use an Image Optimizer (extremely important)
The next step is to use an image optimizer. Images exported through Photoshop or Pixelmator are not entirely optimized for optimum file size.
Tools like imageOptim (for MAC users) or Squoosh can dramatically reduce an image's file size without affecting its quality.
Look at the screenshot below. Both images look exactly the same and have the same dimensions. However, the image on the right is 56% smaller in file size.

Use Responsive Images
Responsive images ensure that users see the best-sized image for their device, improving page speed and user experience. Here’s how it works:
- When you upload an image, the CMS generates multiple versions of different sizes.
- Depending on the user’s screen resolution, the browser automatically loads the most appropriate image size.
This means mobile users receive smaller images, reducing load times and improving mobile page speed, especially on image-heavy pages.
If your website doesn’t already support responsive images, you can implement them using the srcset and sizes attributes in HTML. If you’re using a CMS, check if it supports this feature or ask a developer to integrate it. Responsive images can be implemented on any website.
Use Lazy Loading
Lazy loading is a technique in which images and iframes load only when they are about to appear on the user’s screen instead of all at once. This reduces initial page load time and saves bandwidth, especially on mobile devices.
For example, if a blog post has 10 images, a browser with lazy loading enabled will only load the images visible on the screen. As the user scrolls, the remaining images load dynamically.
Most modern browsers support native lazy loading with the simple loading="lazy" attribute:
<img src="example.jpg" alt="Example Image" loading="lazy">
This works without requiring major changes to your website and significantly improves page speed.
2. Optimize Video Delivery For Faster Loading
Another element that can slow down your pages considerably, if not optimized correctly, is videos.
When embedding videos into your content, you should follow these best practices:
Upload videos to a streaming service
The best way to minimize the impact of videos on page loading speed is to upload them to a streaming service, such as YouTube or Vimeo, and then embed them on your website.
By doing so, your server is not responsible for streaming the video content since the content comes directly from the provider.
Disable video autoplay
Don’t use autoplay. It not only creates a bad user experience but also considerably slows down a page's loading time.
Use lazy loading
The lazy loading technique can also be applied to videos. Videos will only be loaded from an external source when they are in the user’s viewport, not when a page is loaded.
Replace video iframe with a preview image
Another technique you can use is to show a preview image to users while they wait for a video to load.
3. Enable Server Caching
Caching is a mechanism that helps with page speed and is a must for all websites.
In simple words, when you use caching, the server creates static HTML versions of your webpages and shows those to users instead of generating the pages from the beginning every time a page request is made.
This makes the process faster, requires fewer server resources, and gives the user a better experience.
The caching mechanism is clever enough to understand when a page changes or when not to cache a page, so the overall website experience is the same.
To enable caching on your WordPress website, you can use a caching plugin like WP Rocket or WP Super Cache.
These plugins will add all necessary caching rules to your .htaccess file and create a separate cache for mobile users and a cache for logged in users.
Configuration of the plugin is straightforward and no technical knowledge is required.
4. Minify CSS and JavaScript
Minification is a process that removes all unnecessary characters from CSS and JS files (like comments and white spaces), making them smaller in size.
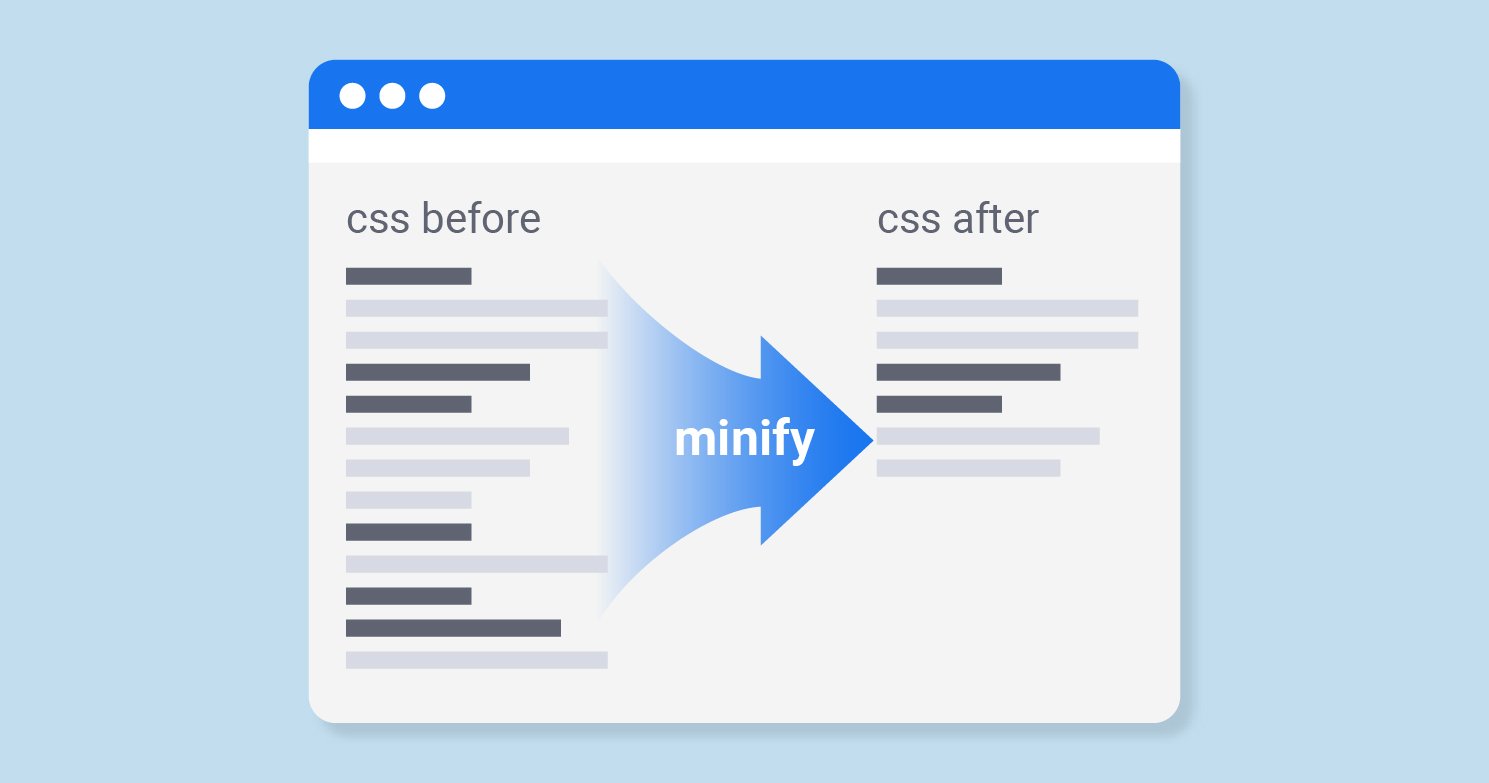
Minification does not change the functionality but reduces the file size, which means faster loading times.
For non-technical people, CSS and JS are files used by all kinds of websites and platforms. CSS is responsible for a page's styling, and JS is responsible for functionality.
There are three ways to enable minification on your website:
- Check if your CMS supports this option. Usually this is found under ‘Speed Optimization’ or advanced.
- If you’re on WordPress, check if this option is available in your theme settings.
- Use a minification plugin like WP Rocket or Autoptimize.
5. Eliminate Render-Blocking Scripts
When a page is loaded, the browser tries to load all the resources defined in the header before continuing with the rest of the page.
Header resources may include the Google Analytics script, Facebook pixel, Google Ads script, and many other scripts your website needs to function correctly.
If any of these resources fail to load quickly, this will delay the loading of a page.
What you can do to avoid this situation is two things:
- Try not to add any external resources or scripts (unless really necessary) to the website header.
- Move render-blocking scripts to the website's footer. If this sounds too technical, hire a developer to do it for you.
6. Use Scripts Asynchronously
Another very effective trick for optimizing page speed is ensuring that all scripts are loaded asynchronously.
During page load, the browser will try to load any script found in the website’s HTML code (either in the header, body, or footer) before proceeding with rendering a page.
This adds extra time to the page loading speed, especially when scripts are hosted on slow servers.
To solve this problem, you need to load scripts asynchronously. In simple words, this means instructing the browser to continue loading a page instead of waiting for the script to be fully loaded.
This is done through code by adding the command ‘async’ in your script’s code.
<script src="example.js" async></script>
Alternatively, if the script needs to be executed only after the page has fully loaded, you can use the defer attribute instead:
<script src="example.js" defer></script>
7. Leverage Browser Caching
Browser caching is different from the ‘server caching’ discussed above. All modern browsers use a caching mechanism to make pages load faster.
The way it works is simple. When a page is first loaded, browsers save elements like images, CSS files, and JavaScripts on the user’s device.
The next time a user visits a particular page or any other page from the same website, the browser will use the locally saved resources (a much faster process) rather than request these from the server.
As a webmaster, your job is to instruct the browser through your website’s .htaccess file on how often and when to refresh the local elements.
# Enable browser caching

<IfModule mod_expires.c>

ExpiresActive On

ExpiresByType image/jpeg "access plus 1 year"

ExpiresByType image/png "access plus 1 year"

ExpiresByType text/css "access plus 1 month"

ExpiresByType application/javascript "access plus 1 month"

</IfModule>
8. Use Preloading And Prefetching of Resources
Preloading and prefetching help browsers anticipate what users need next, allowing pages and resources to load instantly when requested. This improves user experience and reduces perceived load time.
The most common types are:
- Preloading tells the browser to load important resources (like fonts, images, or scripts) early so they’re ready when needed.
- DNS Prefetching: Speeds up external resources (e.g., Google Fonts) by resolving their domain before a user requests them.
- Pre-rendering: Loads an entire page in the background if there’s a high chance a user will visit it next.
Again, this is a technical task that can be handled with the help of a developer.
9. Move To a Faster Hosting Provider
If you notice that your website is slow after you do the above changes, then it’s time to consider changing hosts.
Your hosting provider significantly affects how fast your website will load.
Serious bloggers or online business owners should use a VPS to host their websites and not shared hosting.
The main difference is that shared hosting is cheaper, but your website is hosted on the same server, and dozens of other websites share the same resources.
When you rent your own Virtual Private Server (VPS), your website is hosted on its own IP on a virtual server with dedicated resources.
This means that your website is more secure, and any potential problems or flaws in other websites do not negatively impact your website’s performance. It’s more expensive than shared hosting, but it certainly is worth it.
10. Deactivate Unnecessary Plugins/Add-Ons
The terminology plugins is used by WordPress. Other CMS use the name add-ons for any additional software installed on a website.
It’s a common practice to install plugins for testing purposes and then forget about them. As a first step, review all your active plugins and deactivate the ones that are not used.
Even if you don’t actively use a plugin, the plugin code/CSS is still loaded, which affects your website speed.
As a second step, review the plugins you actually use and see if there are ways to do what the plugin does without having the plugin.
11. Consider Using a CDN
A content delivery network or CDN is a service that helps to improve page speed by:
- Using various servers to deliver the static elements of a website (images, CSS, JS)
- Using servers that are closer to the physical location of the user.
For example, if you have users accessing your website from different countries, the users in the US will be served from US-based servers while the users in Germany will be served from German-based servers.

You need a subscription with a CDN provider like Cloudflare to use a CDN. You also need to configure your domain so that any page requests are redirected to your CDN provider.
Many CDN providers offer additional features, such as protection from DDoS attacks, automatic SSL, image optimization, and minification of HTML, CSS, and JavaScript.
12. Optimize Your Database Tables
Behind the scenes, all CMS platforms use a database server, and most of them use MySQL, MariaDB, or SQL Server. A slow database server will slow down your website.
WordPress is based on a MySQL Database. While you don’t need to know any other technical details, you need to understand that adding/deleting content/posts to your website increases the database, and at some point, it's good to do some maintenance work.
This involves things like:
- Delete unnecessary post revisions (a version of the post or page is kept in the DB every time you click ‘Save Draft’).
- Deleting spam comments.
- Re-indexing the database tables (don’t worry if you don’t know what this is).
- Removing unnecessary table
- Optimizing tables
Performing these actions regularly will reduce the size of your DB and it will run smoother and faster.
13. Use Google Page Speed Module
If you are on a VPS, an alternative to using a caching plugin is to use the Google Page Speed Module. This is software developed by Google that is installed on your webserver and takes care of caching and optimizing your HTML and CSS without having to change your website.
I have tested this on a number of websites, and it works well. However, the downside is that you need the help of your hosting provider to install the module on your web server and some technical knowledge to configure it correctly.
If you want to play with and test it, you can read about it here.
14. Upgrade Your CMS Software
It’s always a good practice to keep your CMS software and plugins/add-ons up-to-date.
All software providers are constantly trying to improve the security and performance of their software, and to take advantage of this, you need to ensure that you’re using the latest versions.
Remember to take a website backup before performing upgrades. Sometimes, new versions create issues, and it’s always good to have an older version you can go back to.
How To Measure Website Page Speed?
While we have discussed ways to improve page loading speed so far, the only way to know if your changes are working is to use a couple of page speed tools and analyze the results.
Measuring your website speed before and after the changes will help you identify exactly where the problem is (or the areas you have improved).
The tools we’ll use for this task are:
- PageSpeed Insights
- Pingdom Website Speed Test
Google Page Speed Insights
Google offers PageSpeed Insights as a free tool. The tool analyzes a web page's content and generates suggestions for making it faster.
Go to PageSpeed Insights, type in your domain name or the URL of a particular page, and click ANALYZE.
A few things to know about PageSpeed Insights reports:
A page score is a number calculated using Google Lighthouse data. If you want to learn the technical details, you can read the formula here.
The higher the score you can get, the better.
Don’t expect to get a 100% score; it’s very difficult for the average website to achieve this.
The page score is not directly related to Google rankings. In other words, it does not mean that pages with a higher score, will rank better than those with a lower score.
As explained above, Google is using a different approach (by grouping websites into two major categories) regarding page speed and rankings.
Don’t be overly obsessed with the page score. What is more important is the actual time it takes for your pages to load in real-life scenarios, not your PageSpeed insights score.
Use PageSpeed score as a KPI to measure the effectiveness of your page improvement changes (before and after making a change).
Pingdom Website Speed Test
Pingdom Website Speed Test analyses a page on your website and gives you several useful metrics including:
- How many seconds it take for the page to load
- The total size of your page (in MB)
- The number of requests executed until a page is fully loaded
- How long each page element took to load
This tool is nice because you can take speed measurements and see how your website is performing in different geographical locations.
This is useful when you are located in a country different from your target audience.
A few things to know about Pingdom reports:
The most important metric is the LOAD TIME. This is the actual time in seconds your website loads from the specified location.
Look at the PAGE SIZE and try to keep it below 1.5MB. The bigger the page size, the more time it takes for the page to load.
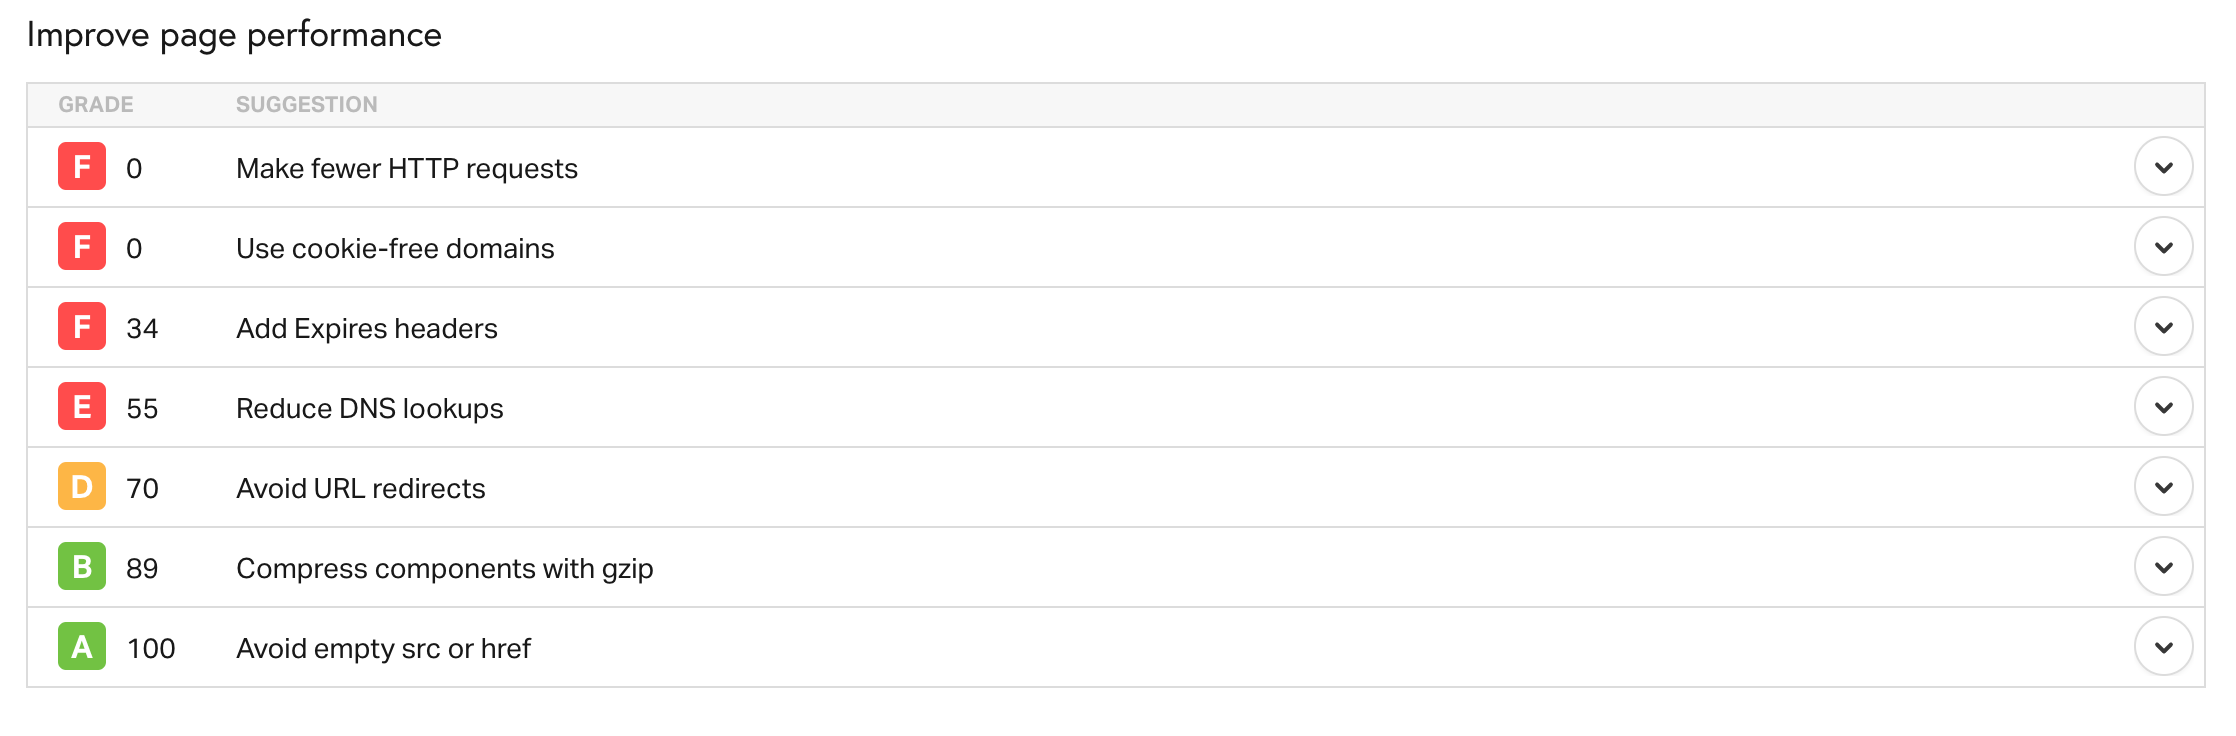
Look at the FILE REQUESTS section to see which website elements take longer to load. Go through the list carefully, spotting any scripts or CSS files that shouldn't be loaded for the particular URL. Get the help of a developer to remove them.
Key Learnings
Page speed is important and something that you need to check regularly. It’s not a one-time task. As your website grows both in content and traffic, you need to periodically check your website’s load speed (especially for your popular pages), and take actions where necessary to improve it.
Using a good caching plugin will help you solve a number of speed problems. If you also manage your image sizes, your webpage loading speed will dramatically improve.
Keeping your CMS and all plugins up to date is also important since new versions will likely include speed improvements.
Finally, use the two tools mentioned above to take measurements from different geographical locations to ensure that the majority of your users can access your website quickly and without unnecessary delays.